Support


Set up a Third Party SIP Phone
Omnivoice allows you to make and receive calls from your computer using a third Party SIP Phone.
How do I get my connection details?
- Before you set up your softphone, you first must register a new personal contact and get your connection details.
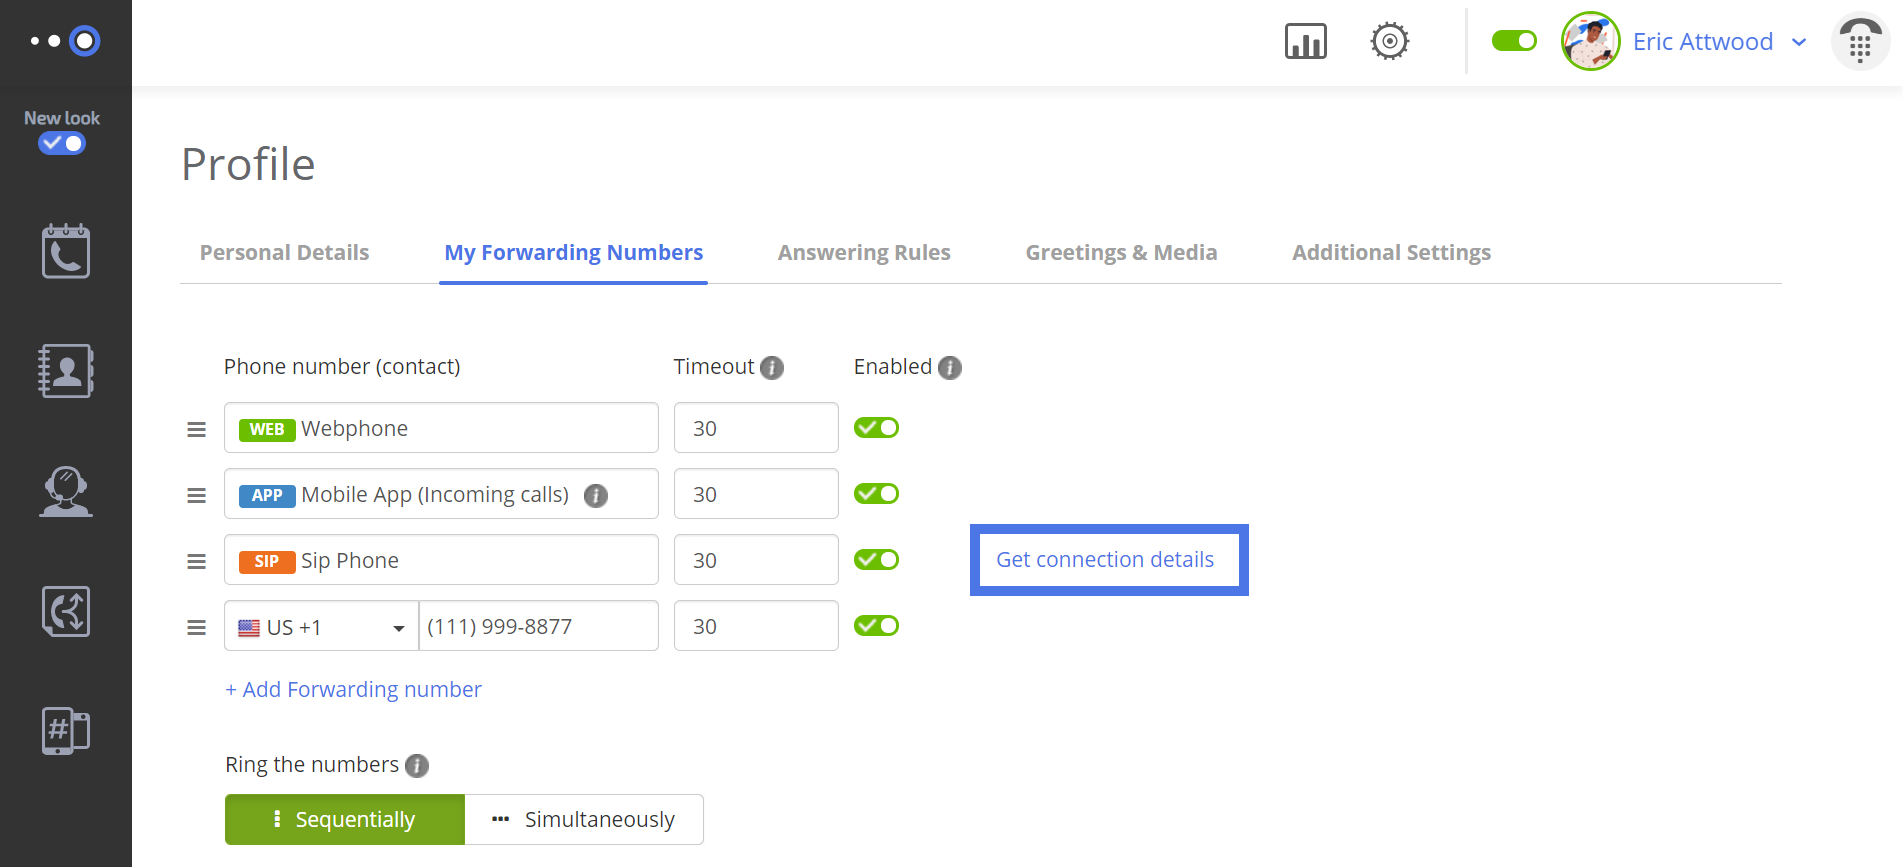
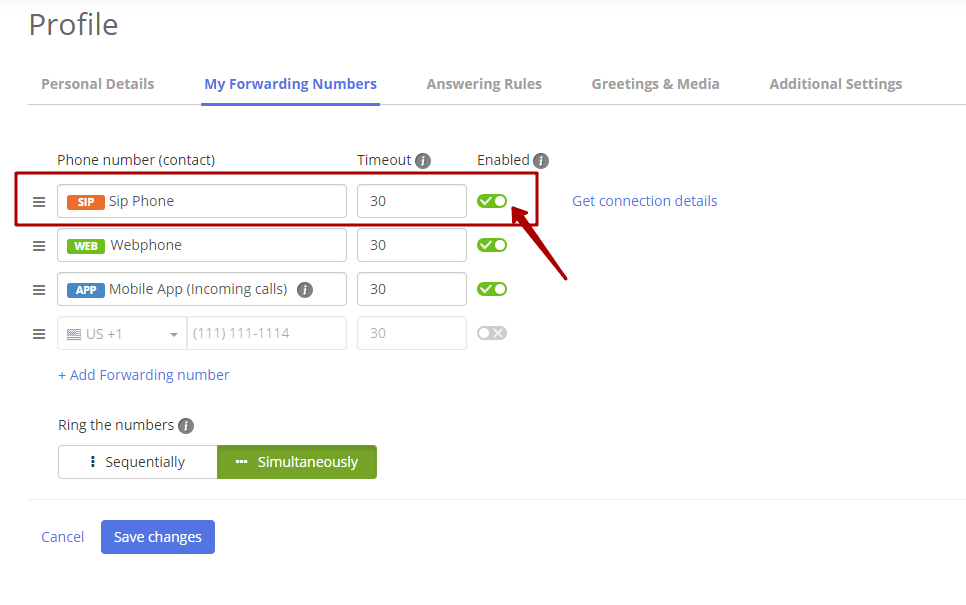
Go to your account > Profile > My Forwarding Numbers to start the process.
- Click on the Add softphone (SIP account) link.
- Make sure to save your changes!
- Then click on the “Get Connection details” link.
- Here you can view your connection details. You can use these credentials to create your SIP account for a third party SIP phone (see a list below).
- Server address (domain)
- Login (user ID)
- Password
How do I use my business number (Caller-ID) for outbound calls?
Fill in the phone number (11 digits format, 15551234567 for example) you want to use as a Caller-ID in the Caller-ID / Display Name field.
Linphone for Mac OS
- Download the installation file from https://www.linphone.org/ and install it on your computer.
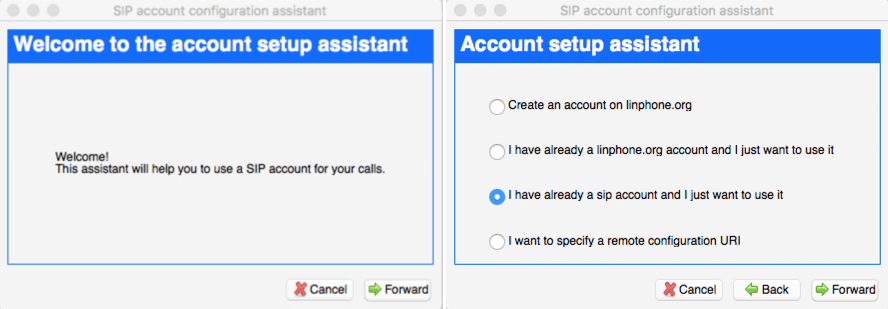
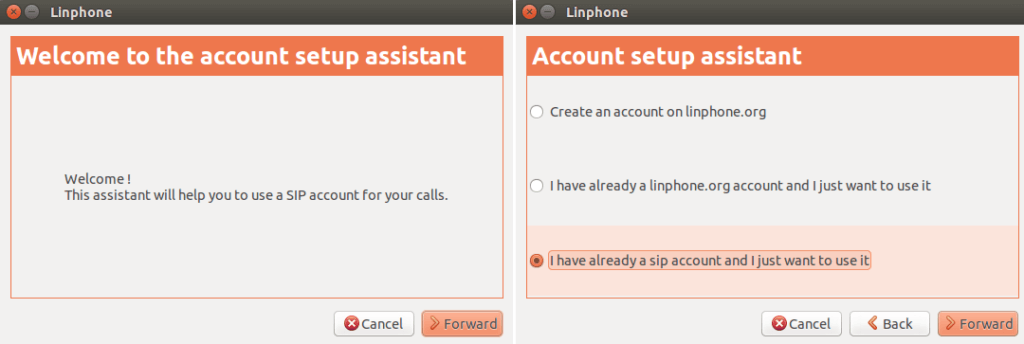
- Launch the program and click the “Forward” button in the “Welcome to the account setup assistant” pop-up.
In the “Account setup assistant” pop-up, choose the checkbox labeled “I have already a sip account and I just want to use it”.
Then, click the “Forward” button.
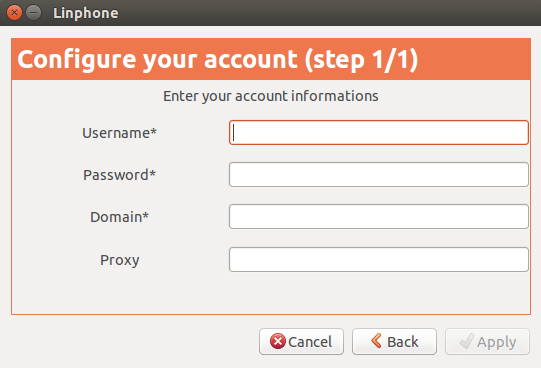
- Fill in the followings fields: user ID, password and a domain (I am out of the office – external IP).
You can find your credentials here: Your Profile > My Forwarding numbers > Get connection details.
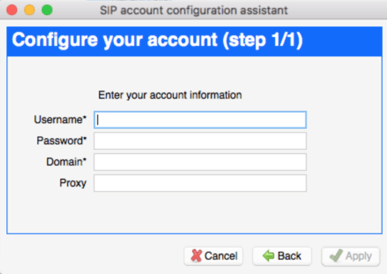
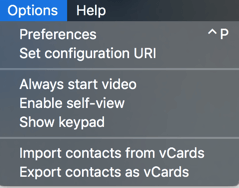
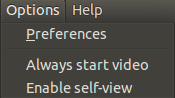
- Click the “Apply” button. After that, click on Options in the menu bar and remove the checkbox from “Always start video”.
- Now you can use your account with Linphone!
Linphone for Ubuntu
- Download the installation file from https://www.linphone.org/ and install it on your computer.
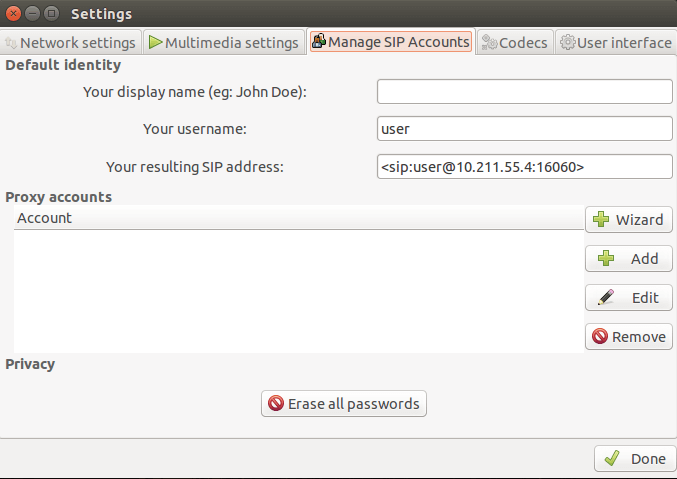
- Launch the program, click on the Options in the menu bar and choose Preferences.
- Select the “Manage SIP Accounts” tab and click on the “Add” button.
- Click the “Forward” button in the “Welcome to the account setup assistant” pop-up.
In the “Account setup assistant” pop-up, choose the checkbox labeled “I have already a sip account and I just want to use it”, then click the “Forward” button.
- Fill in the followings fields: user ID, password and a domain (I am out of the office – external IP).
You can find your credentials here: Your Profile > My Forwarding numbers > Get connection details.
- Click the “Apply” button. After that, click on Options in the menu bar and remove the check from “Always start video”.
- Now you can use your account with Linphone!
Bria Solo Free (ex X-lite)
X-Lite is now Bria Solo Free. You can Try Bria Solo for 30 days. Other plans here.
How to install and setup Bria Solo?
- Create an account at https://www.counterpath.com/bria-solo/
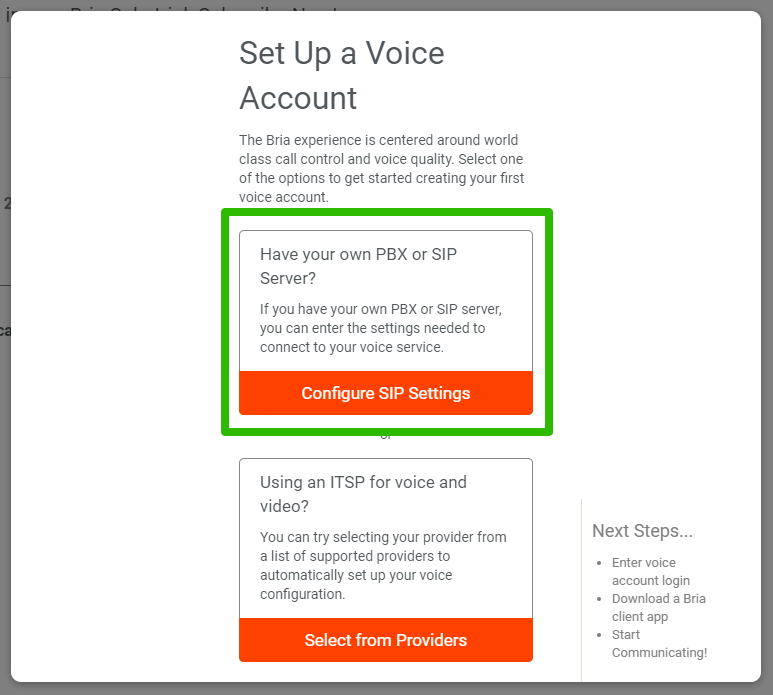
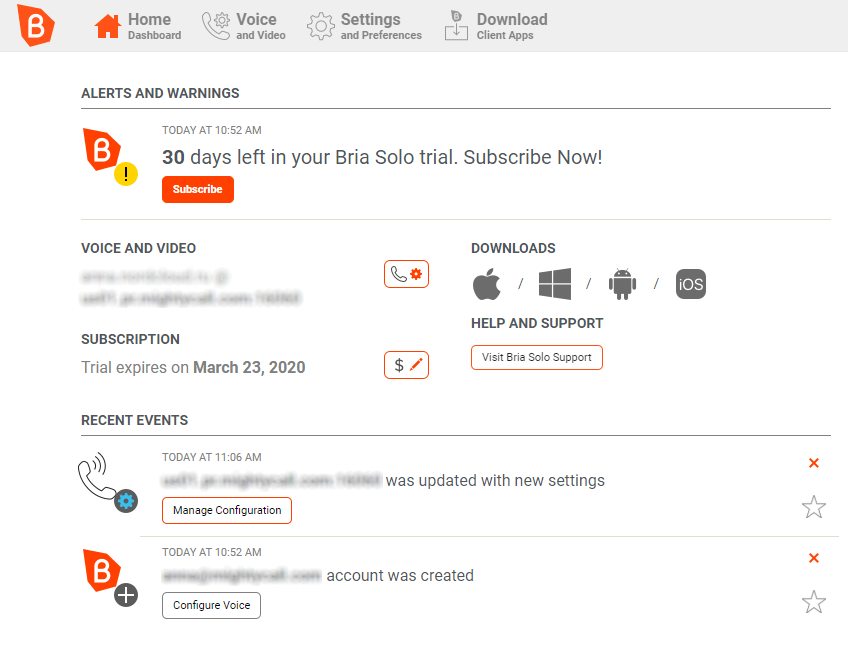
- Configure your voice account https://solo.softphone.com/dashboard#setup-configure-voice-account.
- Select the Have your own PBX/ SIP server.
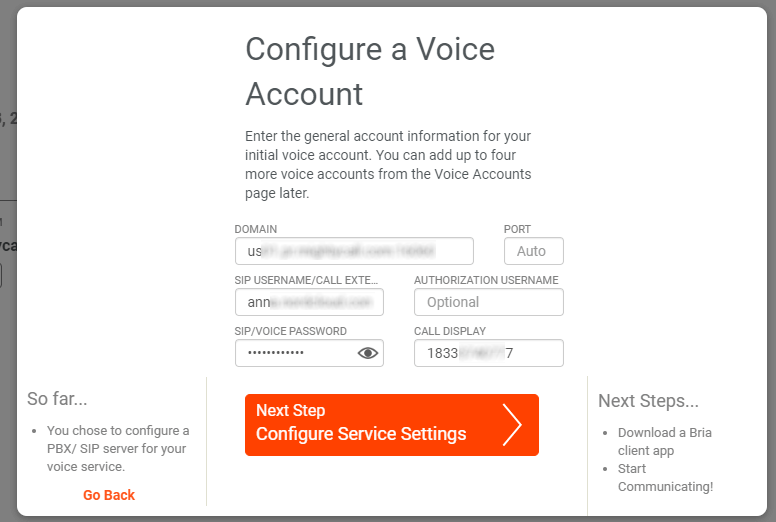
4. Use your credentials here Your Profile > My Forwarding numbers > Get connection details:
How do I use my business number (Caller-ID) for outbound calls?
Fill in the phone number (11 digits format, 18333740777 for example, without any dashes, spaces, brackets or plus signs, but including the “1” prefix) you want to use as a Caller-ID in the Call Display field.
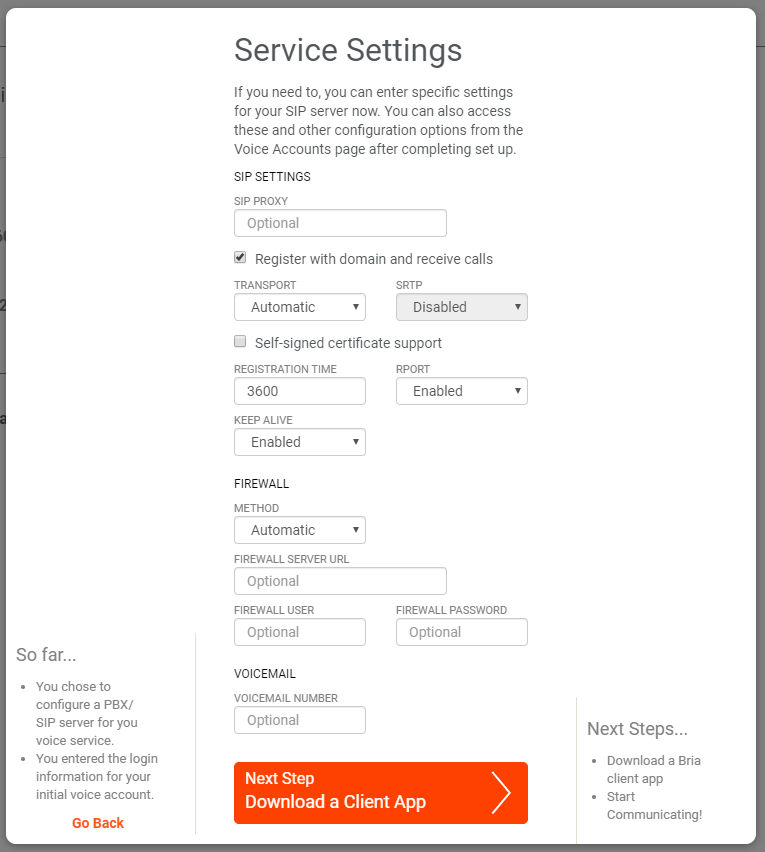
For the most cases you do not need to change these settings, so skip and and download a Client app.
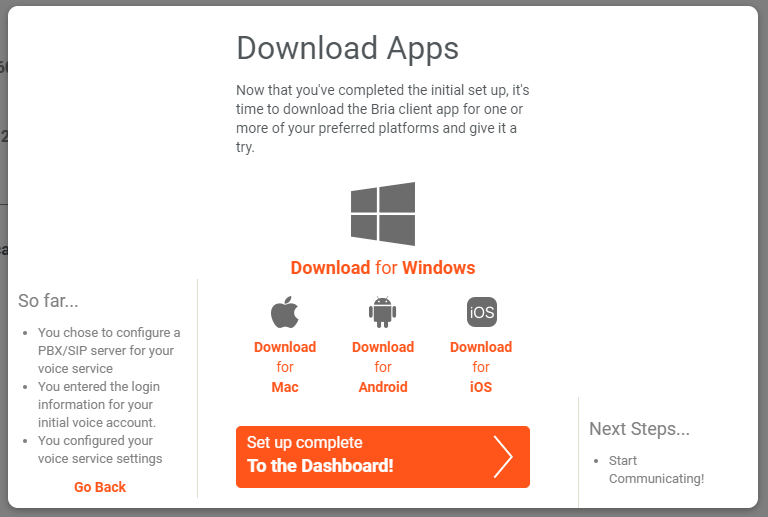
Install the Bria client app to your computer (or mobile phone).
You can edit your settings if need https://solo.softphone.com/dashboard/:
How to configure the Bria client app?
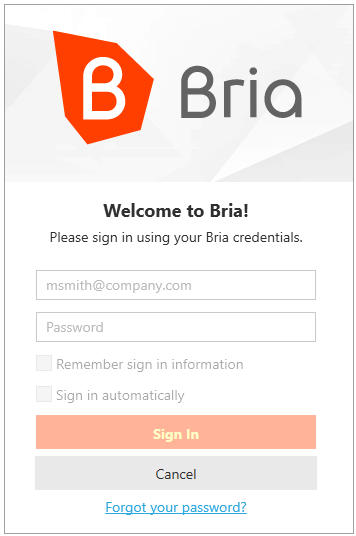
- Launch the Bria client app. Sign in using your credentials.
- Allow access for Windows firewall and brandmauer. Your Bria ready to go!
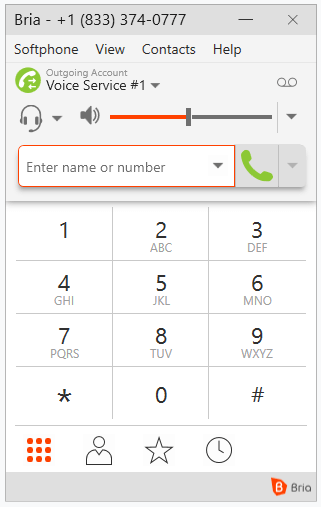
How to make and receive calls using the Bria client
- Configure the Bria client as described above.
- Make sure you have SIP phone enabled (at your Profile > My forwarding Numbers).
Zoiper for Mac OS
- Download the installation file from https://www.zoiper.com and install it on your computer.
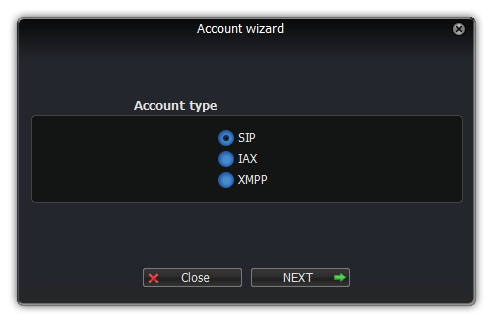
- Click on the Settings menu and select “Create a new account” on the main screen.
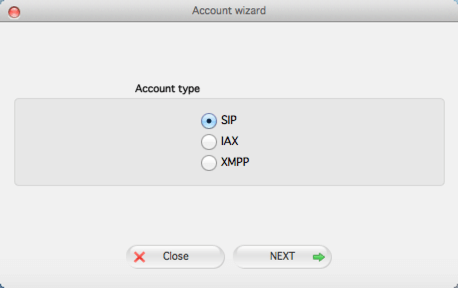
- Select SIP type of account and click on the “Next” button.
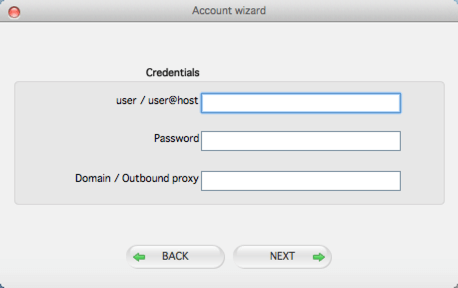
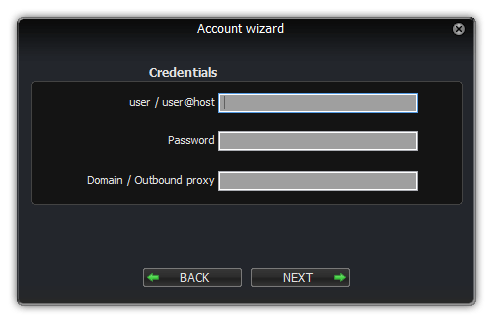
- Fill in the following fields: a username, password and a domain.
You can find your credentials here: Your Profile > My Forwarding numbers > Get connection details.
- After that you can click on the “Next” button and start to use the Zoiper client with your account.
Zoiper for iOS
- Download the installation file from https://itunes.apple.com/de/app/zoiper-sip-softphone-voip/id438949960?mt=8 and install it on your iOS device.
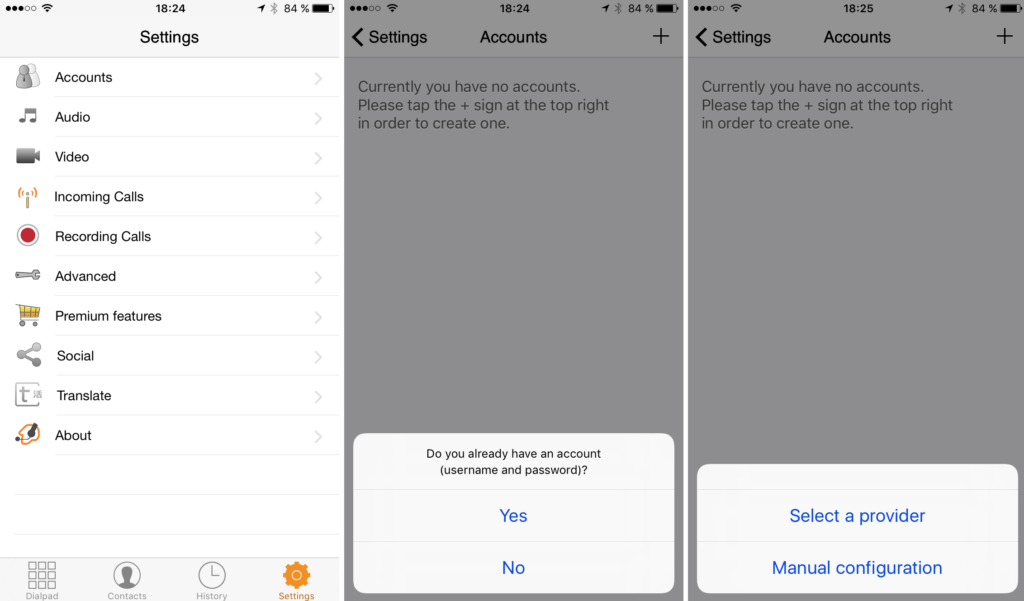
- Tap on the Settings menu and select “Accounts”. Tap on the “+” button.
Answer “Yes” on the question “Do you already have an account?” and choose “Manual configuration”.
- Select SIP type of account.
Fill in the username, password and domain fields.
You can find your credentials here: Your Profile > My Forwarding numbers > Get connection details.
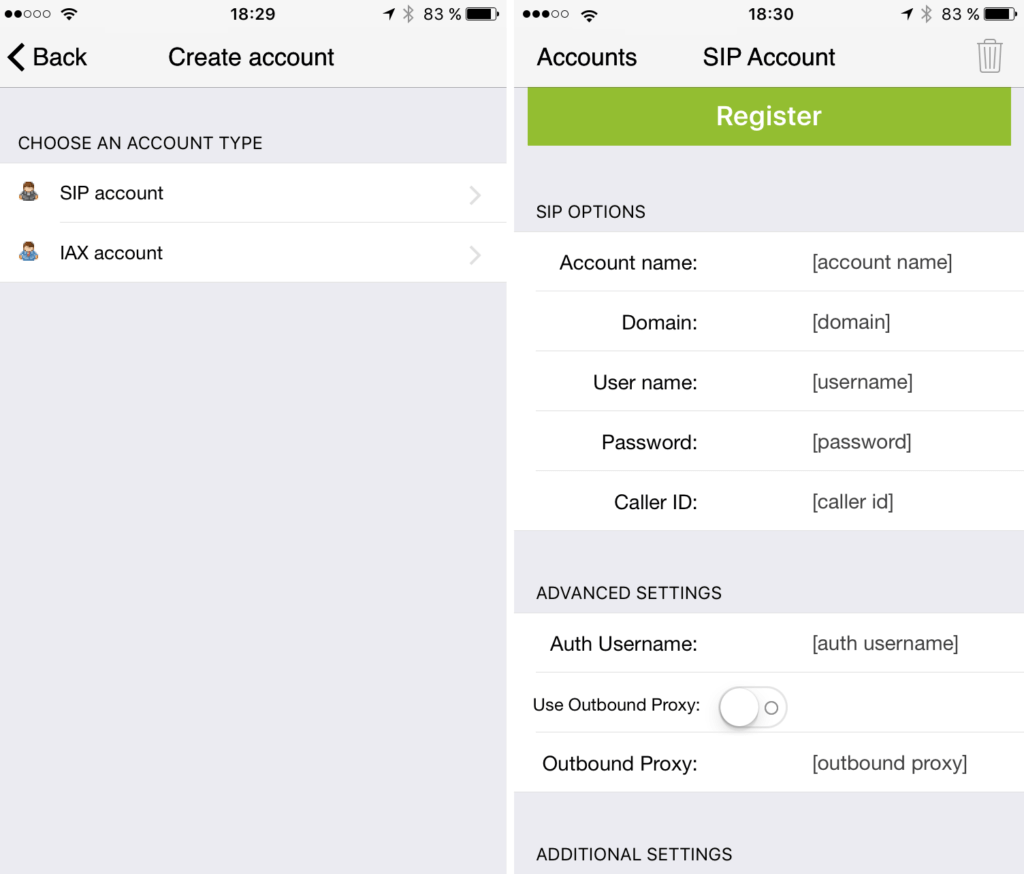
- After that, you can click on the “Register” button and start to use the Zoiper client with your account.
Zoiper for Android
- Download the installation file from https://play.google.com/store/apps/details?id=com.zoiper.android.app&hl=en and install it on your Android device.
- Tap on the Config menu and select “Accounts”. Tap on the “Add account” button.
Answer “Yes” to the question “Do you already have an account?” and choose “Manual configuration”.
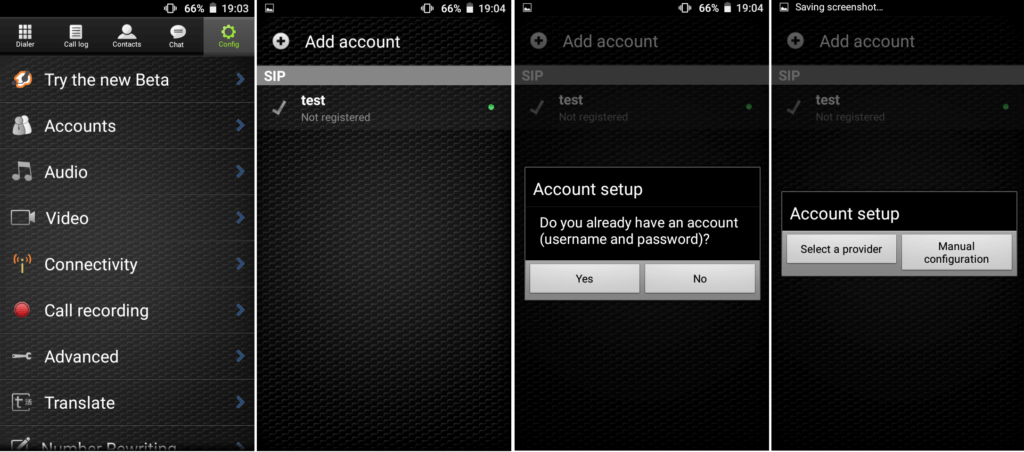
- Select SIP type of account.
Fill in the username, password and domain fields.
You can find your credentials here: Your Profile > My Forwarding numbers > Get connection details.
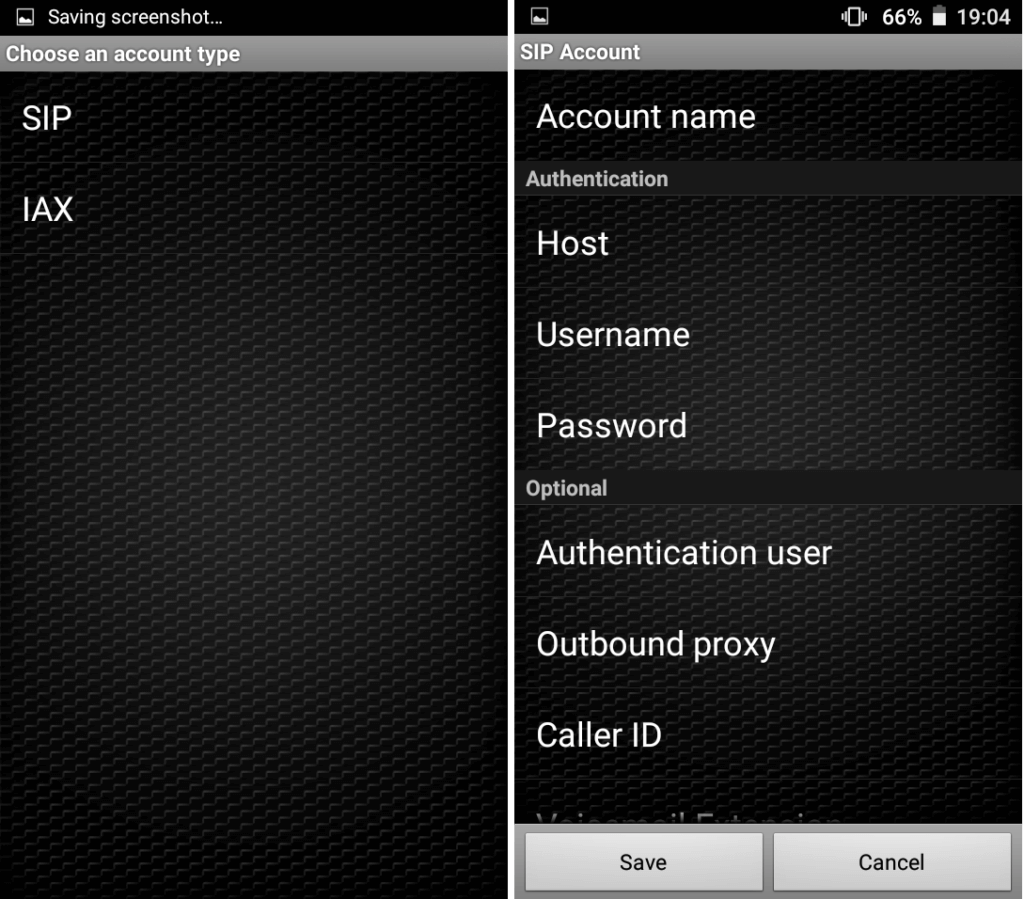
- After that you can click on “Save” button and start to use the Zoiper client with your account.
Zoiper for Ubuntu
- Download the installation file from https://www.zoiper.com and install it on your computer.
- Сlick on the Settings menu and select “Create a new account”.
- Select SIP type of account and click on the “Next” button.
- Fill in the username, password and domain fields.
You can find your credentials here: Your Profile > My Forwarding numbers > Get connection details.
- Click on Next. Enter a name to identify your account.

- After that you can click on “Next” button and start to use the Zoiper client with your account.
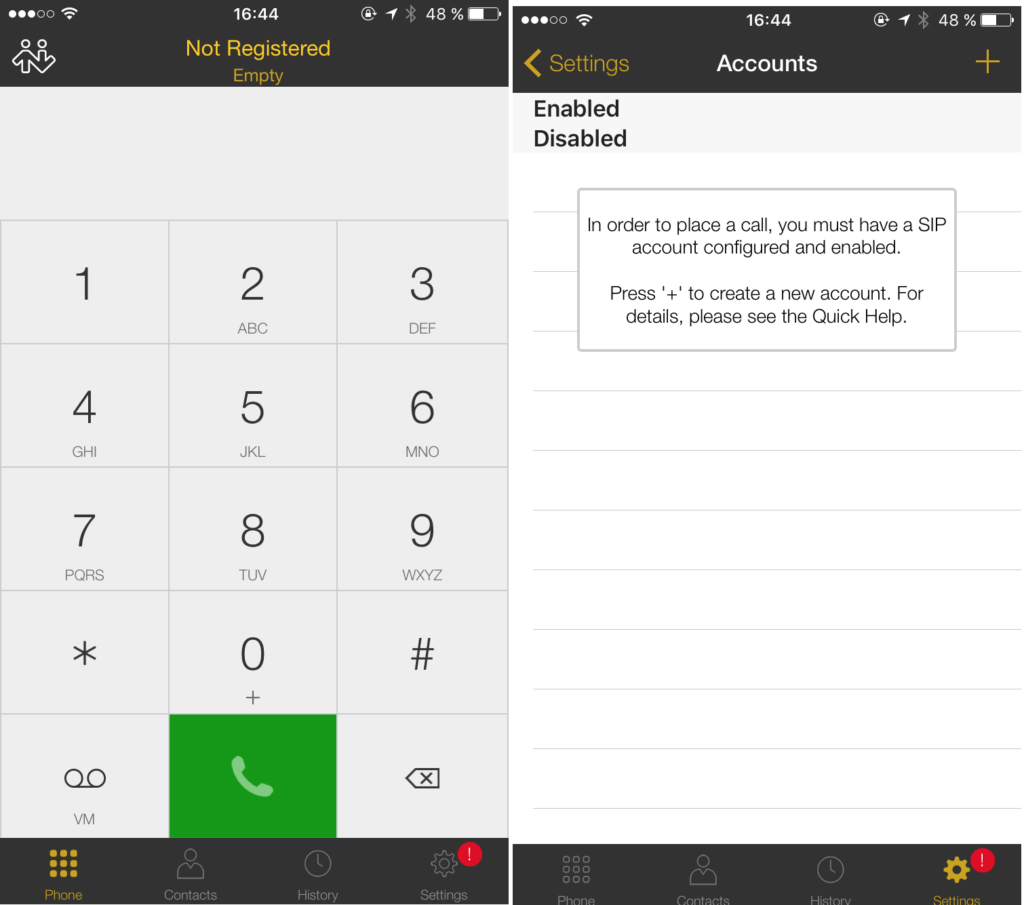
Bria for iOS
- Download the installation file from https://apps.apple.com/us/app/bria-mobile-voip-softphone/id1236194368 and install it on your iOS device.
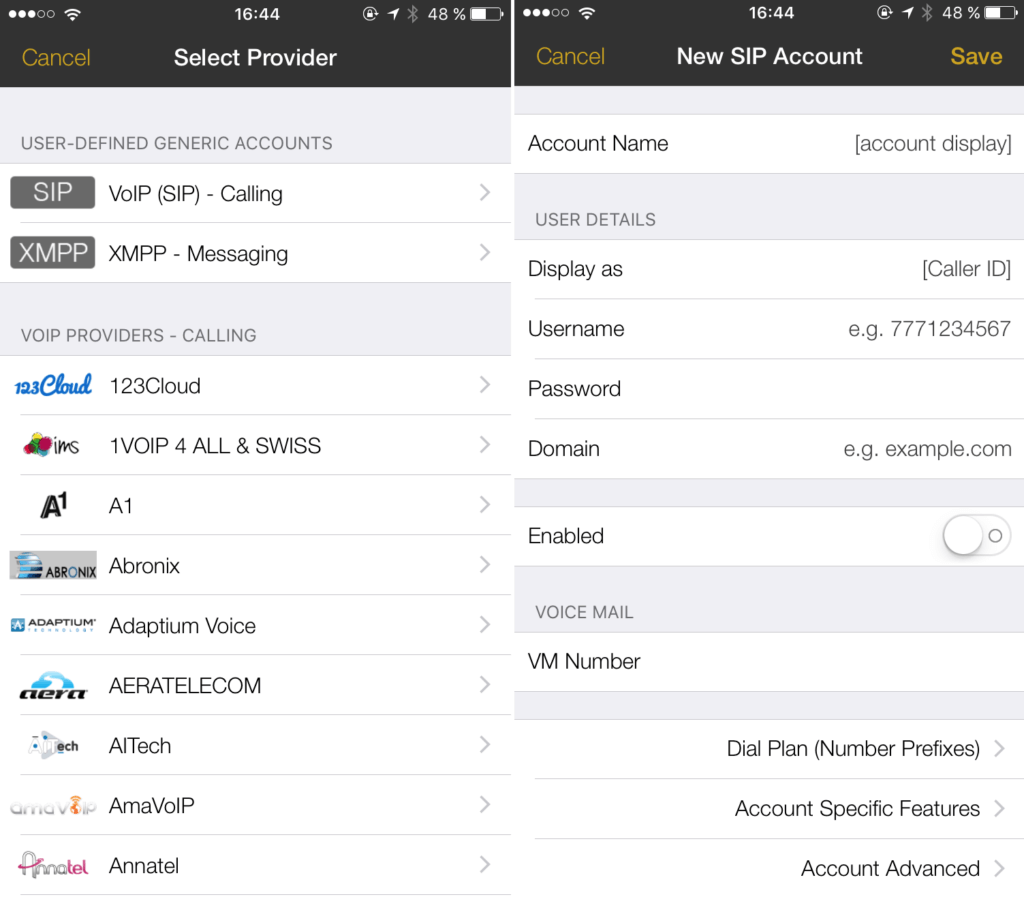
- On the main screen, tap on the Settings menu and select “Accounts”. Tap on the “+” button.
- Select the SIP type of account. Fill in the Username, Password and Domain fields.
You can find your credentials here: Your Profile > My Forwarding numbers > Get connection details.
- After that, you can click on “Back” button and begin using the Bria client with your account!
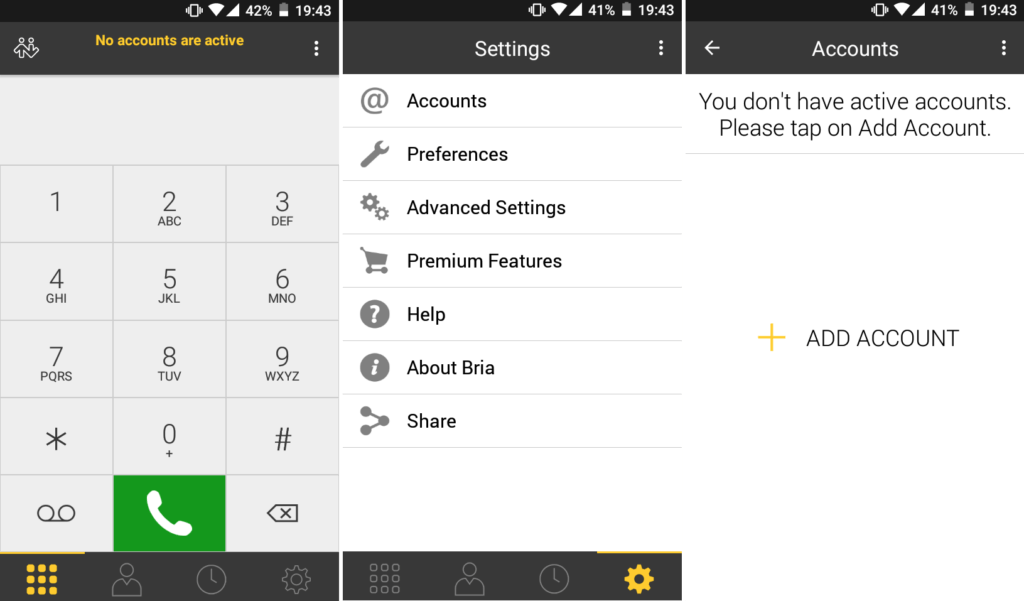
Bria for Android
- Download the installation file from https://play.google.com/store/apps/details?id=com.cpc.briax and install it on your Android device.
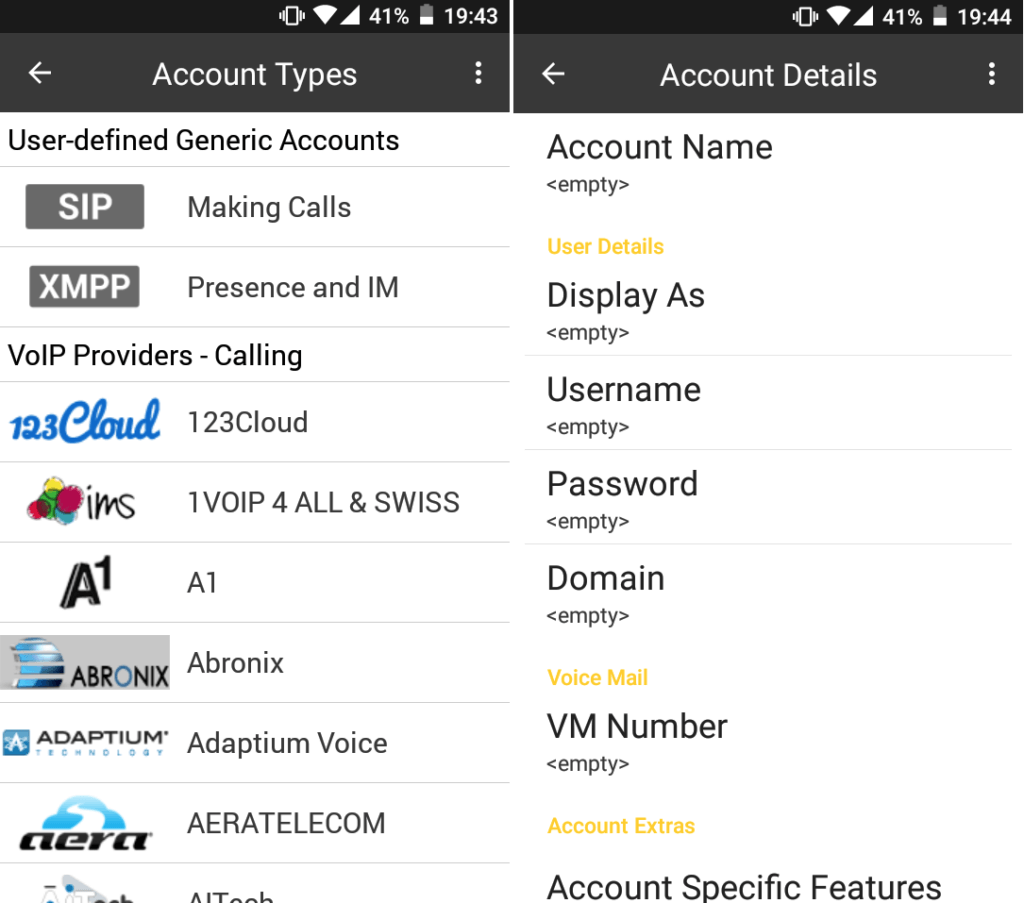
- On the main screen, tap on the Settings menu and select “Accounts”. Tap on “ADD ACCOUNT”
- Select the SIP type of account. Fill in the Username, Password and Domain fields.
You can find your credentials here: Your Profile > My Forwarding numbers > Get connection details.
- After that you can click on the “Back” button and begin using Bria client with your account.
Microsip for Windows
Free and simple SIP softphone.
1. Download and install the app https://www.microsip.org/downloads
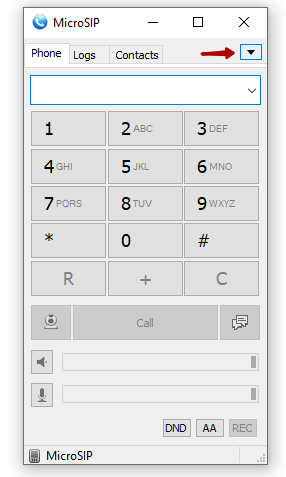
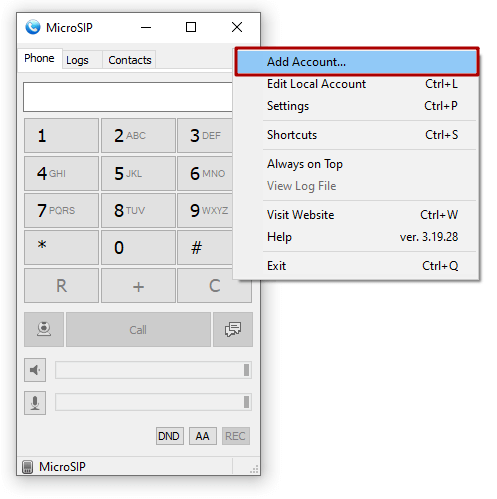
2. Add Account:
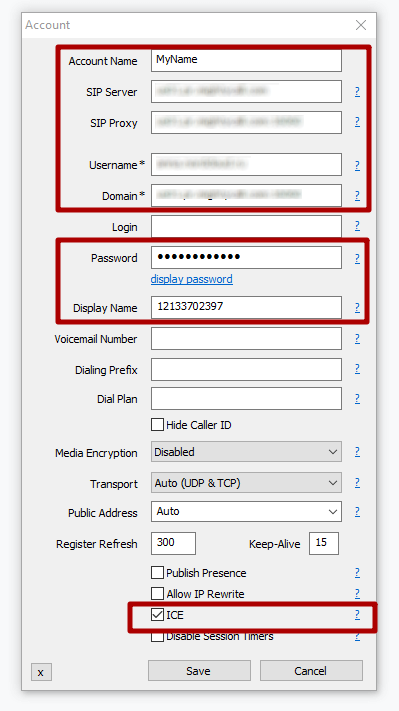
3. Fill in the following fields:
- Account Name
- SIP Server
- SIP Proxy
- Username
- Domain
- Password
- Display Name – to use as a Caller-ID in the Display Name field
4. Enable the ICE option, it helps to find the shortest way for media streams and reduce media latency.
You can find your credentials here – Your Profile – My forwarding numbers – Get connections details.
How do I use my business number (Caller-ID) for outbound calls?
Fill in the phone number (11 digits format, 12133702397 for example, without any dashes, spaces, brackets or plus signs, but including the “1” prefix) you want to use as a Caller-ID in the Display Name field.
Example:
Do not forget to enable your SIP phone as your contact to receive calls.
Now you can make and receive calls using Microsip.
3CX 6 Phone for Windows
- Download the installation file from https://www.3cx.com/voip/softphone/ and install it on your computer.
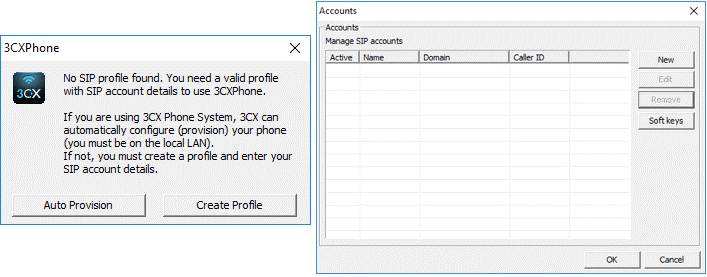
- Launch the program. You should see a pop-up saying “No SIP profile found”. Click on the “Create profile” button and the “New” button on next screen.
- Fill in the followings fields: user ID, password and a domain (I am out of the office – external IP).
You can find your credentials here: Your Profile > My Forwarding numbers > Get connection details.
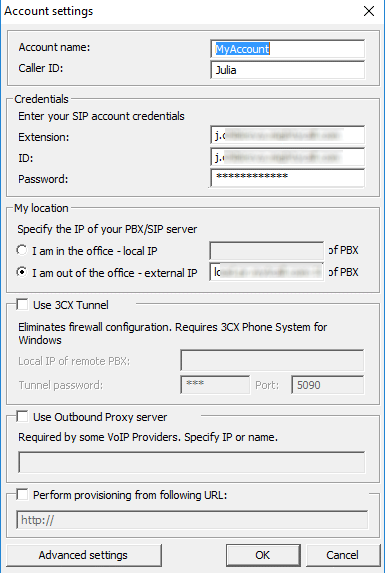
- Click on the “Advanced settings” button.
Select the UDP value in the SIP Transport dropdown list.
Set the “Registration time” value to 10 minutes.

- After that you can click on the “OK” button and start to use 3CX Phone client with your account.